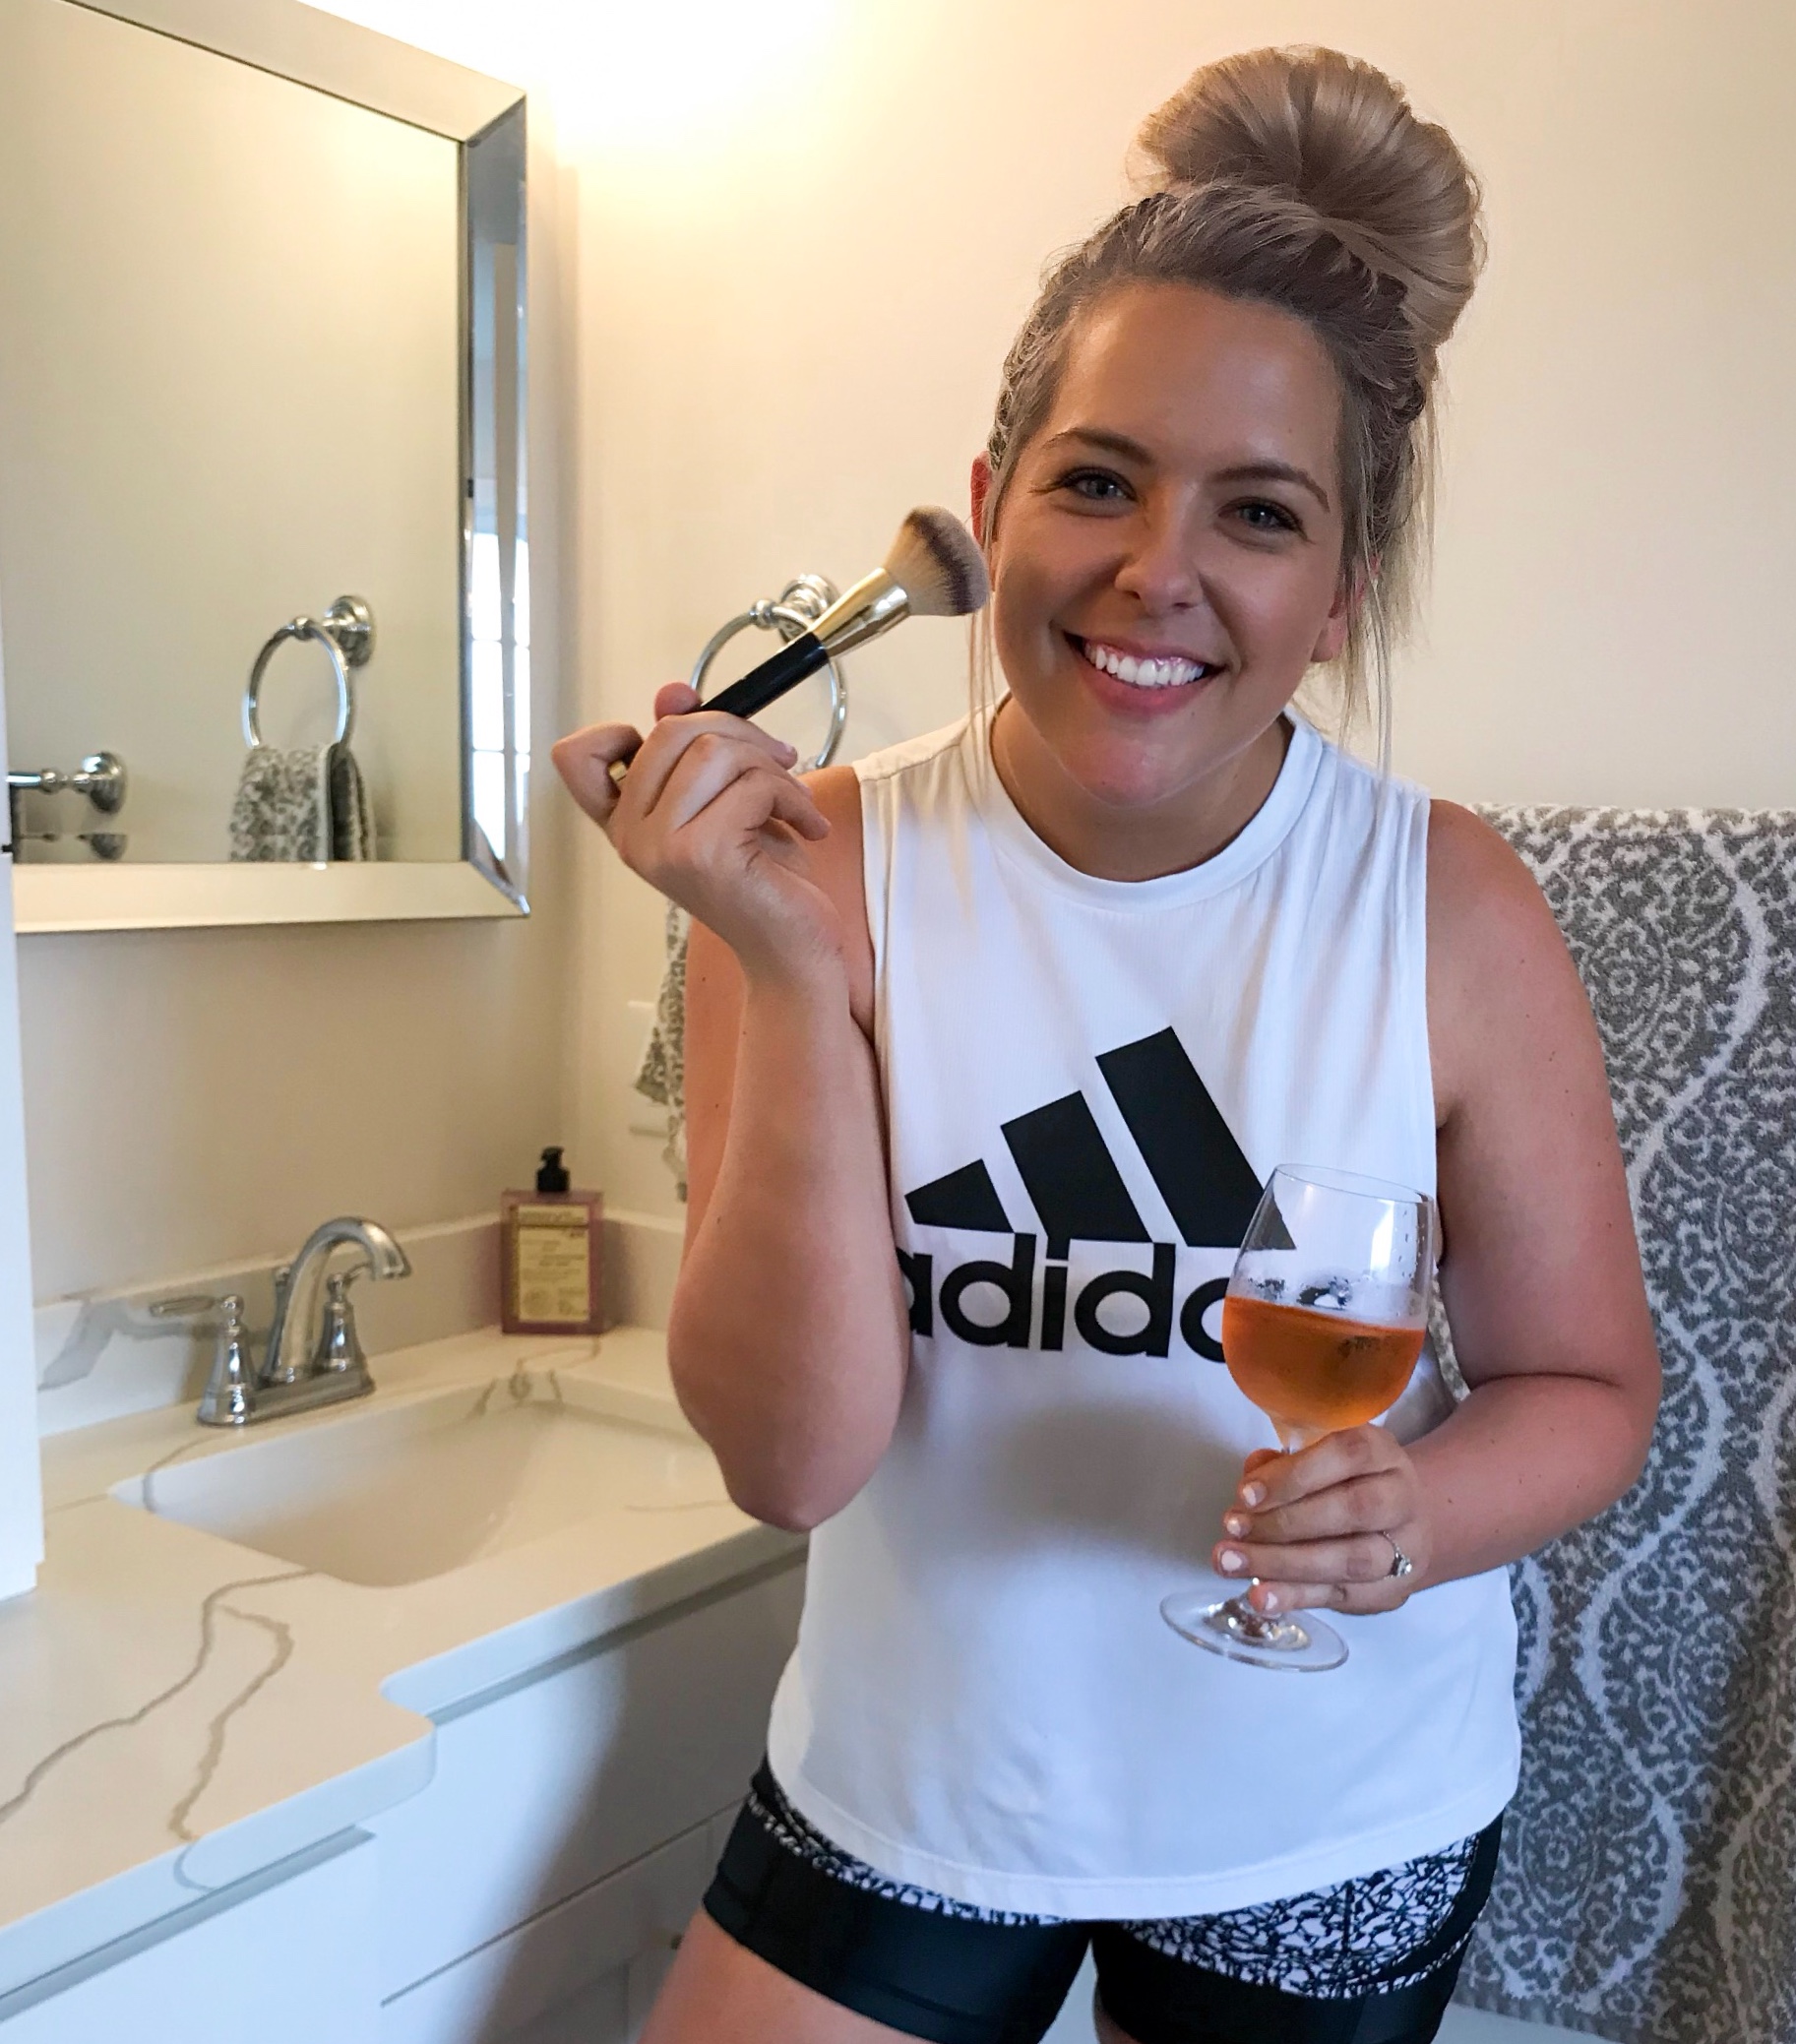
Does the quest for long luxiourous lashes sound familiar to you?! There are a lot of services out there available these days to help one achieve ultimate lash goals such as lash extensions, miracle mascaras + great lash curlers but today it’s all about the lash lift! I have always been super intrigued by lash lifts but didn’t really know how it worked so I jumped at the opportunity to try it out at Waxing the City .
EVERYTHING YOU NEED TO KNOW ABOUT A LASH LIFT:
- Lash lifts are essentially a perm for your lashes. Think about not using your eyelash curler but still having your lashes curled and lifted.
- Your lashes and eye area should be clean and make-up free before getting a lift.
- A silicone shield gets put on your eyelid using a gentle adhesive. The adhesive is applied on top of the shield as well so the technician can comb up each lash individually.
- The semi perm solution is applied to your lashes about 5 minutes after the adhesive to help mold your lashes. Just like a hair perm, the solution is not the most pleasant smell but it’s over quickly.
- A setting solution is applied to harden the lashes and lock them in place.
- A lash lift usually includes a tint as well to give your lashes an extra va-va voom!
- The final step will include a conditioner to help remoisturize your lashes after the service.
- Lash lifts usually last about 6-8 weeks.
BEFORE:
AFTER:
If you tend to twitch at the slightest touch like me your eyes might be a little red and teary when you open them for the first time after the service but should adjust just a minute after! My technician even mentioned how majority of people usually have their eyes water a little after opening them so no worries.
A big thank you to Waxing the City + Heather for sponsoring this post! I would highly recommend trying out a lash lift through them.


